Upskilling with Stone Lithography
Stone Lithography is a skill that I have always wanted to obtain, but it has always seemed to be closer to witchcraft than printmaking.
I think that is part of the magic, taking a stone, drawing materials and array of chemicals, and after many hours of rubbing, flapping and mixing various chemicals a body of work will begin to form.
I feel incredibly lucky that this two-day workshop was organized as part of my staff development at the University of Central Lancashire. I love being the studio technician for the Artlab Contemporary Printmaking Studios, and it was such a pleasure to work alongside artist and researcher Tracy Hill and have the training led by the incredibly talented and eternally patient Kathryn Poole.
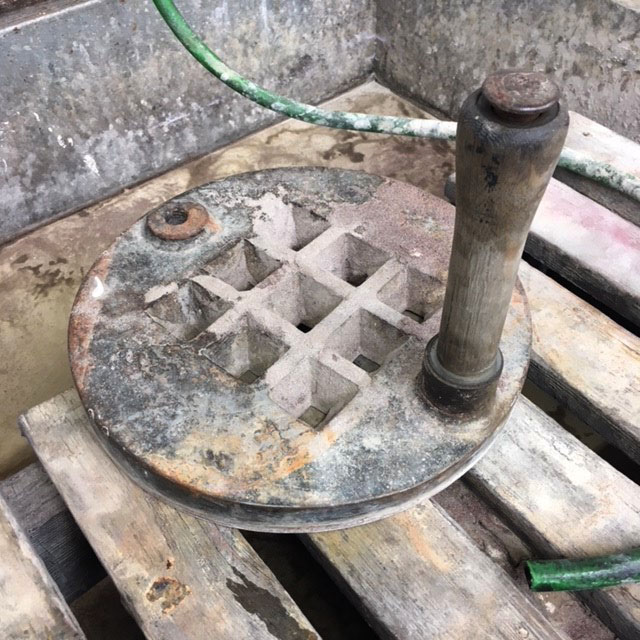
The process begins like most printmaking processes – with cleaning and de-greasing. This process of cleaning is actually grinding off the top layer of the stone and is known as levigation. By adding carborundum to the process the stone can be made smoother or left with a grainier texture. Levigation is done by spinning a heavy metal disk until it aquaplanes over the stone. This is an incredibly physical process and a great way to start a workshop on a grey Thursday morning.
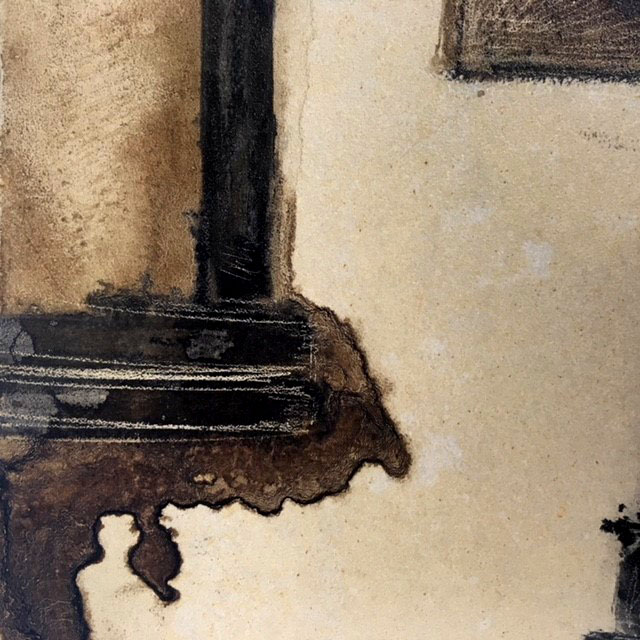
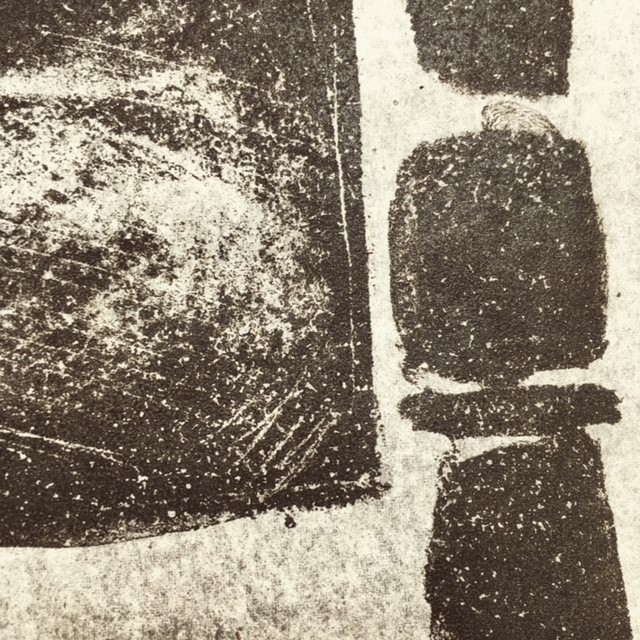
For my first stone, I decided to play with materials, mixing lithographic crayons with tusche dissolved in white spirit in order to create a fluid drawing material similar to ink. Using this solution I drew simple marks onto the stone, when it had dried I removed sections of the drawing with a knife. By doing this I managed to work lighter sections back into what was a very heavy, dark image.
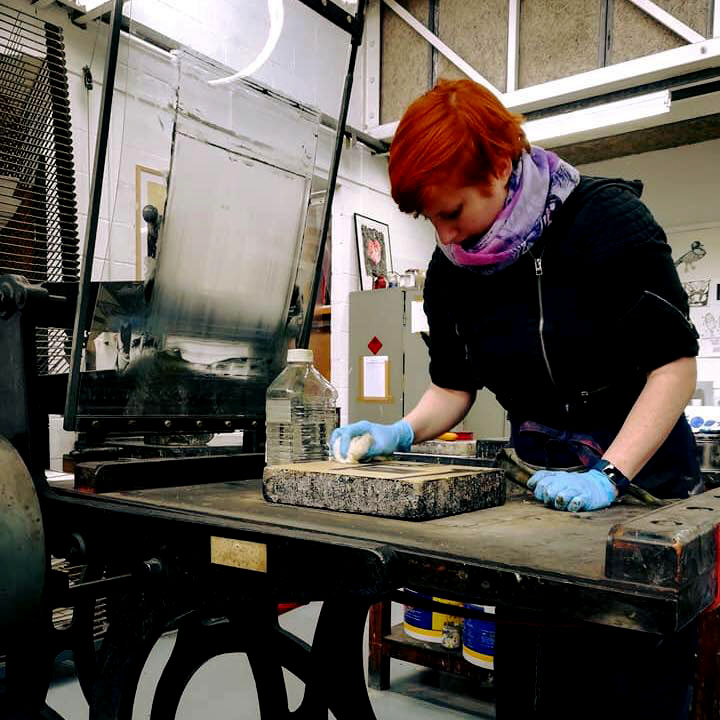
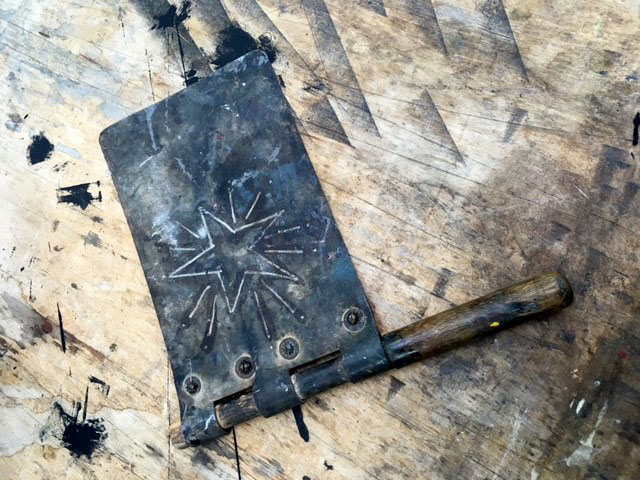
Next, the stone is dried with a ‘flapper’ and the fun part of drawing begins.
Next, we chalked the stone to protect the drawing and remove any detritus from the stone. I never realized that drawing on lithographic stones could be such a delicate affair. Once a mark is made it is almost impossible to remove and any direct contact from the printmaker can mark the stone and affect the final print.
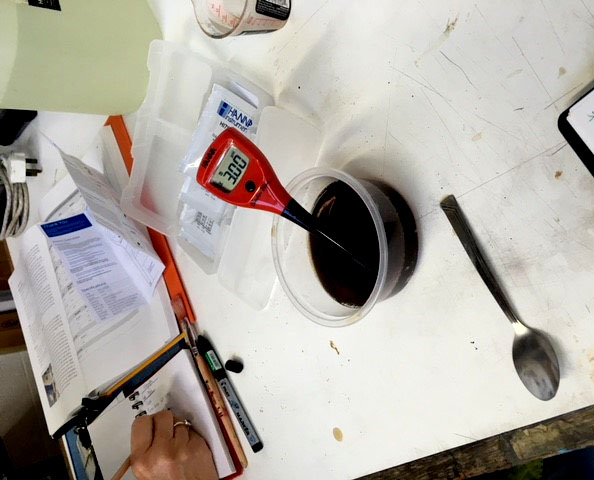
Prepsol was then expertly mixed with gum arabic until it reached a ph of exactly 3. Kathryn is so experienced with this process that she instinctively knew how many drops of Prepsol would need to be added to the gum arabic before testing it.
Now the process of etching the stone begins. For me, this seemed like the most complex process, but in reality, it was very simple and actually really enjoyable.
Gum arabic is spread on the stone with a sponge, then the etching solution is applied with muslin or cheesecloth and buffed in. This is left for three minutes and then repeated. That completes the first etch. The stone is then left for a minimum of two hours, or in our case, we dove into the chemistry and practicalities of running a lithography department and left our stones overnight.
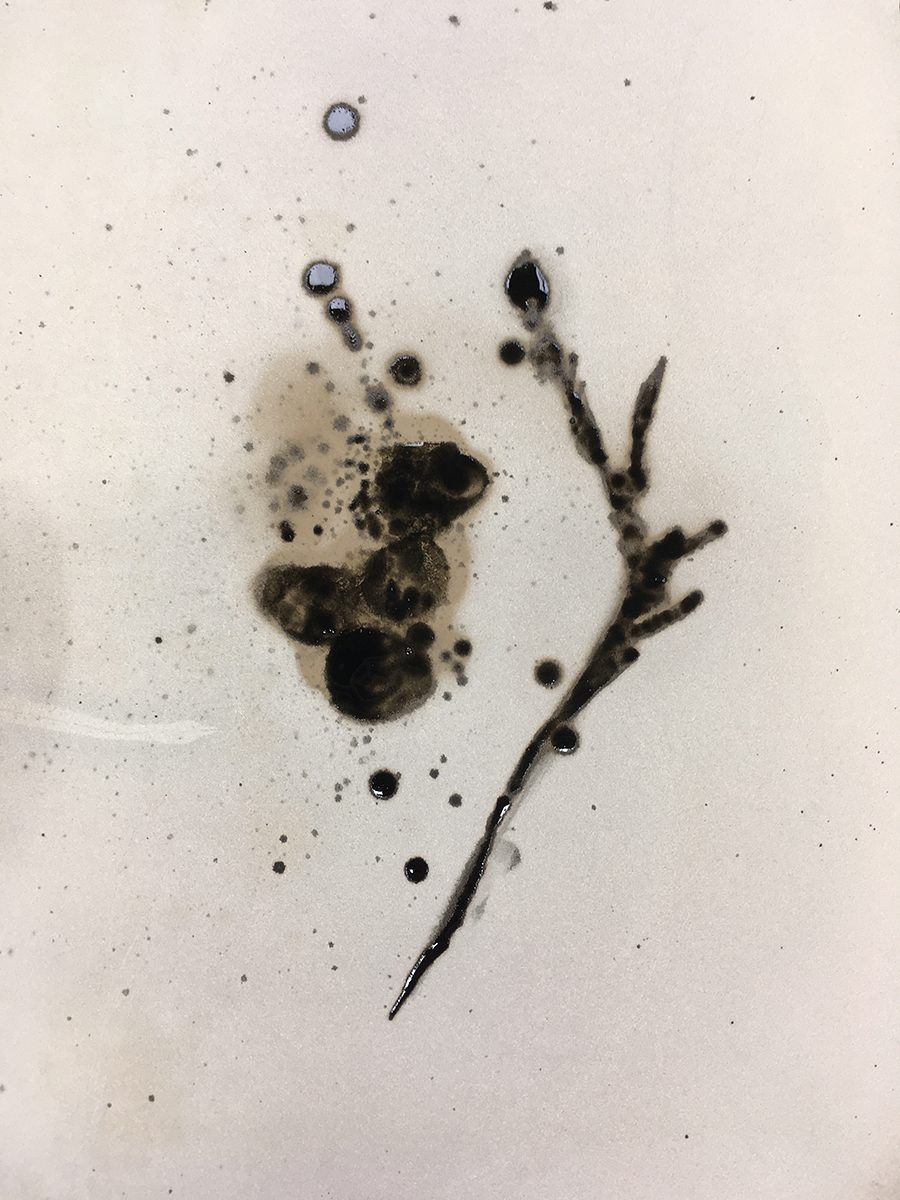
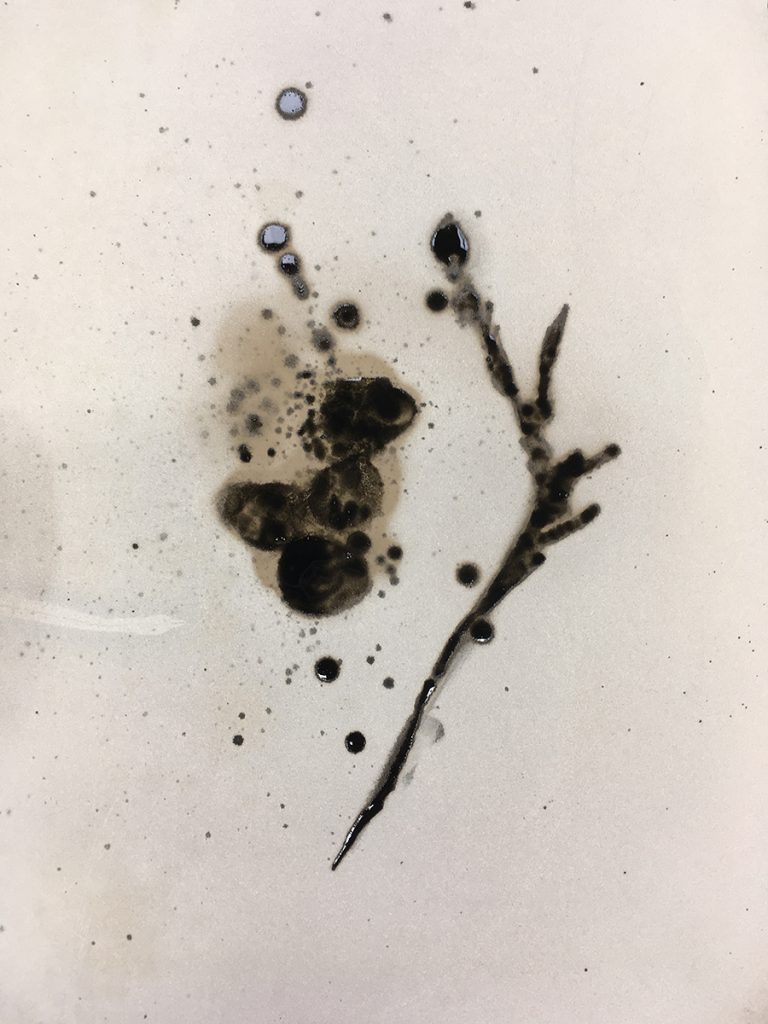
The next day this process of etching was repeated. It was at this point that I decided to make a second stone and experiment with a more fluid drawing style which fits in with my current research. I mixed block tusche with white spirit and covered the stone in meths before drawing. This gave me a loose rhizomatic drawing that I really look forward to pushing more and exhibiting the outputs.
Once the stone has been fully processed and is ready to print it is covered in Gum Arabic and buffed until dry. White spirit is applied to remove the physical drawing asphaltum is then rubbed into the stone and washed out leaving a clean stencil. This is the section that has always bewildered me if the drawing is removed, what are you actually printing? Kathryn kindly explained it in a way I had never thought of. Lithography is not like etching, as I had always thought. It is actually closer in methodology to screen printing. What we have been doing is creating a stencil in the gum arabic and when inked up the stone will be holding the ink in a similar way to a silk screen with a photo stencil. The final step in this section is to roll the stone up with ink and begin printing.
After learning the intricacies of the offset press and under the watchful eyes of Tracy and Kathryn I pulled my first stone print!
Even though I am proud of my achievement I don’t think it is something I will be sharing with the world – in full anyway. The reticulated marks worked well and the sections that I scratched into gave a satisfying zing. I really cannot wait to get the time to print my second stone and start expanding my new found skill in lithography.
After I finished printing I closed my stone in the traditional way by buffing it with gum arabic, cleaning it with white spirit, applying asphaltum, washing it and rolling it up with non-drying ink.
I got so much from my staff development and really feel as if my practical and theoretical knowledge has been taken to the next level. I hope to work with Kathryn Poole in the future as I feel that we only really scratched the surface of this magical process.